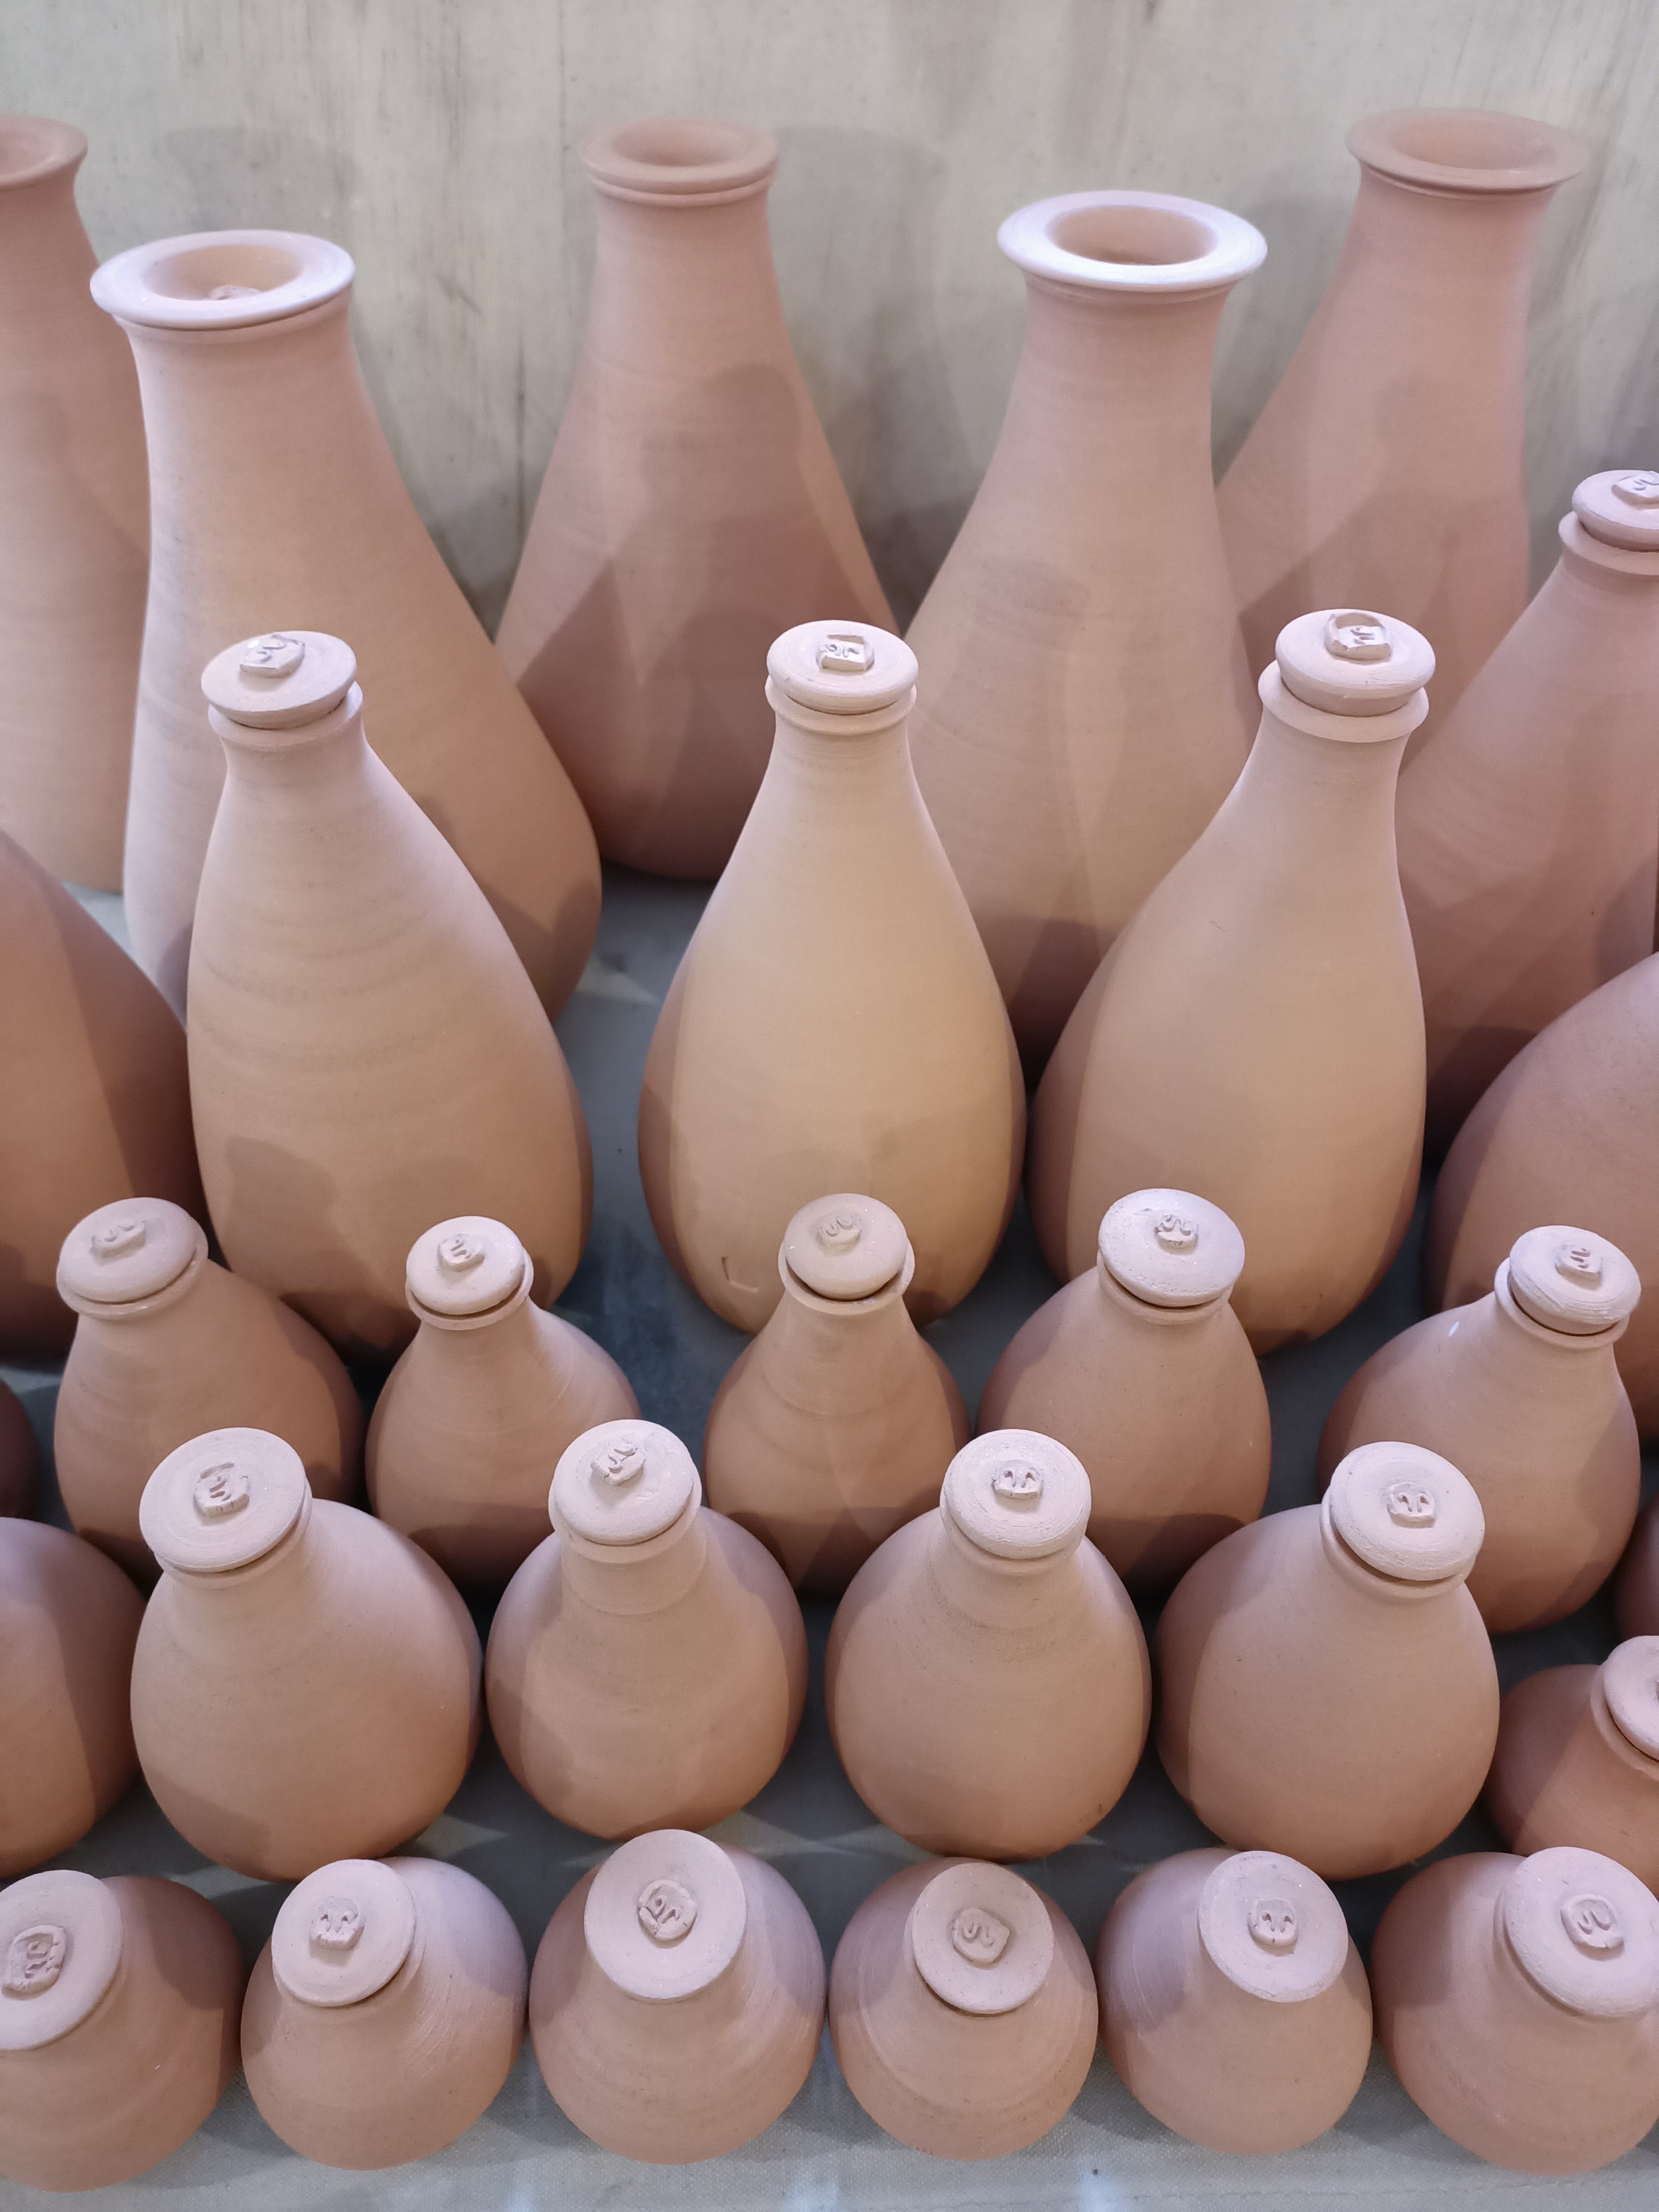
What is an olla? (Oi-ya)
An olla is a porous clay pot buried in soil with its neck exposed and filled with water to slowly leach to the roots of your plants. As well as slowly leaching out of the porous clay body the roots of the neighbouring plants will be drawn to the gentle water source. Depending on your plants and soil type, your olla may need topping up once everyday to once every two weeks. These devices are millennia old and have been used over many continents in dry climates. The benefits of ollas include keeping the roots watered consistently, water saving and time saved watering. It is also a great to technique to keep those house plants watered when you go away on holiday.
Creation and guidence
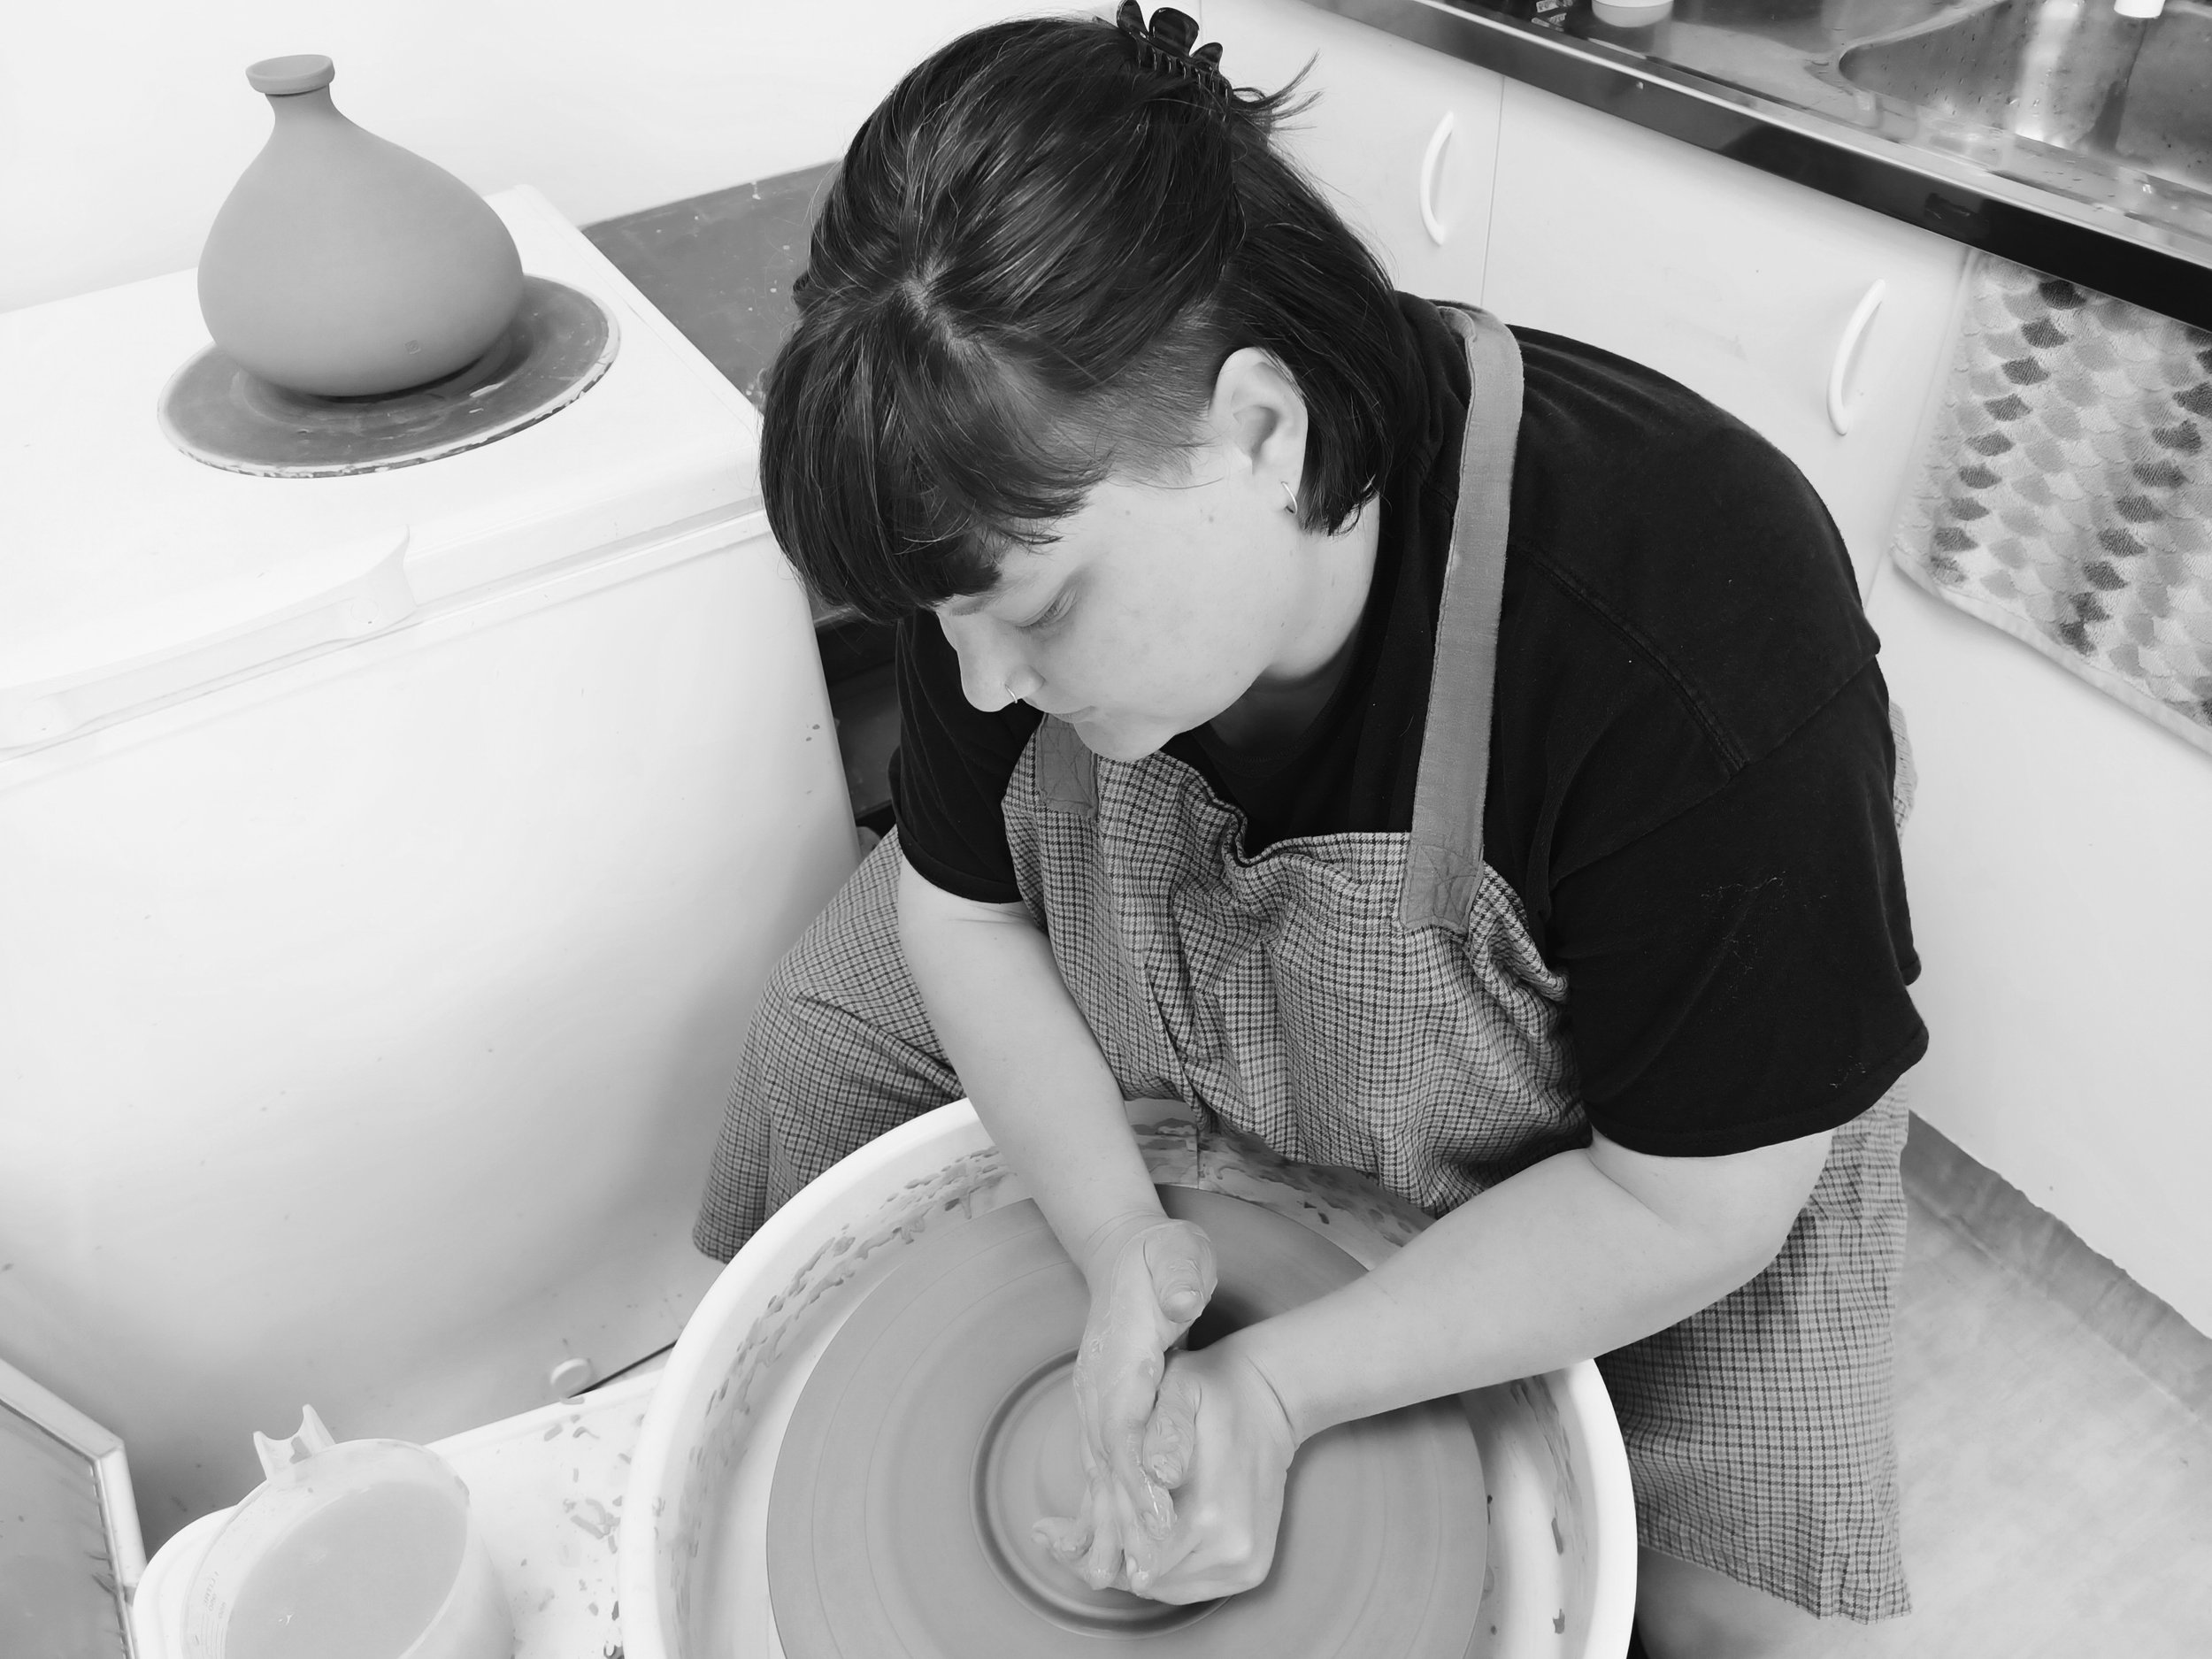
All our ollas are wheel thrown, handmade in Northland, Aotearoa out of New Zealand clay. They are low fired to keep the clay porous. Although our range has categories, each olla is unique and may slightly vary in size. You may see trimming marks or fingerprints of its maker.
If you are interested in a custom sized olla, please get in touch as we are open to making ollas to suit your unique situation.
Our ollas are made for annual gardens and pot plants. We do not recommend planting next to vigorous rooting perennial plants as the roots may eventually crack into the olla. Our ollas are not suitable to be used in areas where soil freezes as the thermal shock may crack the clay.
Instructions and care

1. Submerge your olla in water for at least 1 min, this will saturate the pores in the clay so your first top up will not be lost to the clay body.
2. Bury your olla in your pot plant or garden bed adjacent to the plant you want to irrigate, leaving approximately 2cm above soil surface. To minimize root disturbance, we recommend planting your seedling/repotting your pot plant at the same time as installing your olla.
3. Fill your olla with water and put the stopper in to restrict evaporation.
4. Top up when needed, depending on your soil, type of plant and size of olla this may be anywhere from everyday to once a fortnight. As an example, I have a size ‘large’ in my outside tomato patch and only need to top it up once a week.
*
-Handle your olla carefully, it is made from low fired porous New Zealand clay.
-Plant your olla in an area where you will not walk on it or dig it up.
-Remove the olla from the ground before the first frost of the season.
-Only fill with pure water as using other liquids may clog up the pores.
About the makers
Jordie MacDonald has been interested in ceramics and the aspect of making functionalware for a number of years and is currenty mid way through a diploma in ceramics through Dunedin school of art and design based in Whangārei. Her passion for wheel thrown pottery, the foraging of local materials and diverse firing techniques are evident in her work.
‘This project brings together my interests of climate resilience, pottery and growing food.’
Julie Cromwell has been working with clay for many years, graduating from Derbyshire University in Studio Ceramics in the early nineties then later receiving a Bachelor in Education from Leeds University. Since 2001 Julie has taught, lived and worked in Northland, and continues to develop her ceramics practice. In 2019, she completed her Masters of Fine Arts degree at Whitecliffe College of Arts and Design. Currently tutoring on the Northland diploma of Ceramics. Julie is represented by Sanderson Contemporary Art Gallery, Newmarket, Auckland.
‘The linage of ceramics and historical forms in clay have always been of interest and a large part of my work.’